Drag Drop File Upload with Dropzone.js in Laravel 8, Laravel 9
3 minutes read
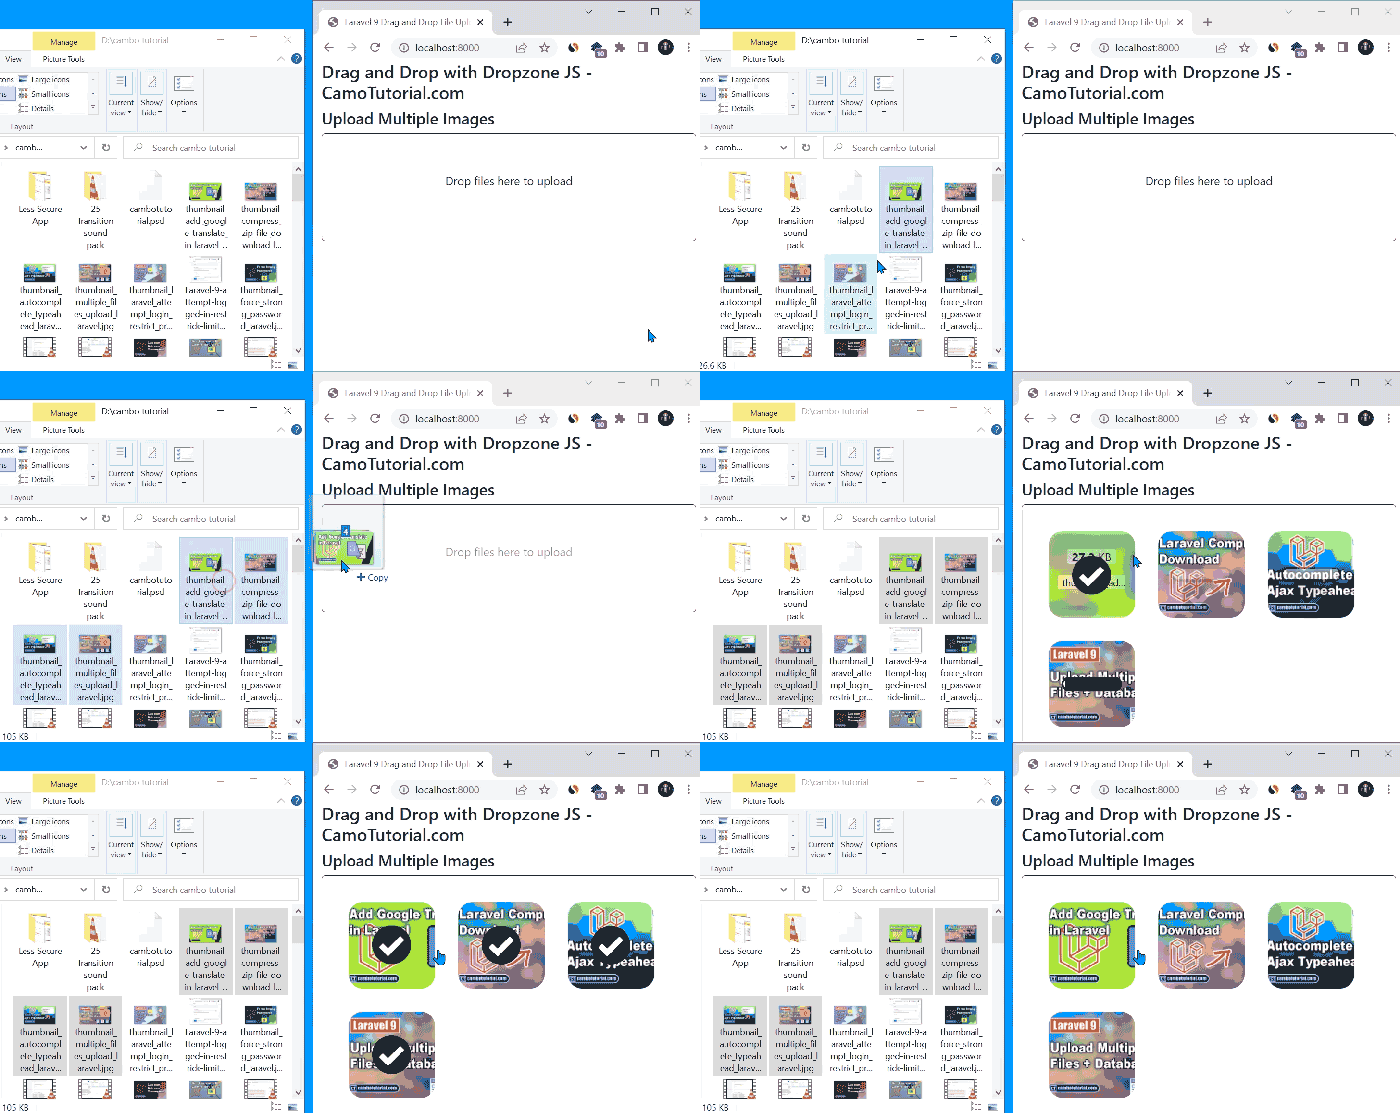
If you want to see example how to drag and drop file in browser to upload file in to server then this article will help you to upload by drag and drop with plugin call dropzone.js. You will see below example to upload multiple files step by step easy to follow for beginner who start with Laravel.
What is Dropzone.js?
Dropzone.js is JavaScript framework which have simple UI to allow user upload multiple files by just drag and drop in browser. This is mean dropzone.js is front-end side which also required process server side as well to achieved this. The process background will send through AJAX to the server. This lightweight library does not required additional external library such as jQuery.
Drag Drop File Upload with Dropzone.js in Laravel
- Step 1 - Install Laravel
- Step 2 - Add Route
- Step 3 - Create Controller
- Step 4 - Create Blade File
- Step 5 - Run Laravel Server
Step 1 - Install Laravel
We need to install or download Laravel project to local anyway following the article I wrote how to install Laravel via composer and configure database. But for this example not required database connection.
Step 2 - Add Route
Next, we are going to adding a route which is point to controller and method should required. There are two URL link as well as methods in controller
<?php

use Illuminate\Support\Facades\Route;

use App\Http\Controllers\DropzoneController;

/*
|--------------------------------------------------------------------------
| Web Routes
|--------------------------------------------------------------------------
|
| Here is where you can register web routes for your application. These
| routes are loaded by the RouteServiceProvider within a group which
| contains the "web" middleware group. Now create something great!
|
*/

Route::get('/', [DropzoneController::class,'index']);
Route::post('/upload',[DropzoneController::class,'store'])->name('dropzone.store');
Step 3 - Create Controller
You can see route list in web.php we have called controller and the methods. Now let's create controller as below command:
php artisan make:controller DropzoneController
Then the command will generate a file named DropzoneController.php
Open file app -> Http -> Controllers -> DropzoneController.php
<?php

namespace App\Http\Controllers;

use Illuminate\Http\Request;

class DropzoneController extends Controller
{
    // To render html form upload
    public function index()
    {
        return view('index');
    }

    // To upload file from client to server
    public function store(Request $request)
    {
        $image = $request->file('file');
        $imageName = time().rand(1,99).'.'.$image->extension();
        $image->move(public_path('images'),$imageName);
        return response()->json(['success'=>$imageName]);
    }
}
Step 4 - Create Blade File
For main point in this tutorial is blade file which we are going to implement with dropzone.js, so that user can upload drag and drop file
Create file resources -> views -> index.blade.php
<!DOCTYPE html>
<html>
<head>
    <title>Laravel 9 Drag and Drop File Upload with Dropzone JS</title>
    <link href="https://cdn.jsdelivr.net/npm/bootstrap@5.0.2/dist/css/bootstrap.min.css" rel="stylesheet">
    <script src="https://unpkg.com/dropzone@6.0.0-beta.1/dist/dropzone-min.js"></script>
    <link href="https://unpkg.com/dropzone@6.0.0-beta.1/dist/dropzone.css" rel="stylesheet" type="text/css" />
</head>
<body>

<div class="container">
    <div class="row">
        <div class="col-md-12">
            <h3>Drag and Drop with Dropzone JS - CamoTutorial.com</h3>
            <h4>Upload Multiple Images</h4>
            <form action="{{ route('dropzone.store') }}" method="post" enctype="multipart/form-data" id="image-upload" class="dropzone">
                @csrf
            </form>
        </div>
    </div>
</div>

<script type="text/javascript">

    var dropzone = new Dropzone('#image-upload', {
        thumbnailWidth: 200,
        maxFilesize: 1,
        acceptedFiles: ".jpeg,.jpg,.png,.gif",
    });

</script>
</body>
</html>
Step 5 - Run Laravel Server
Now we ready for testing the application. By following command to run Laravel server.
php artisan serve
Open following URL http://localhost:8000/ via browser to see page render upload form, you can try drag and drop files

You might also like...

Author
As the founder and passionate educator behind this platform, I’m dedicated to sharing practical knowledge in programming to help you grow. Whether you’re a beginner exploring Machine Learning, PHP, Laravel, Python, Java, or Android Development, you’ll find tutorials here that are simple, accessible, and easy to understand. My mission is to make learning enjoyable and effective for everyone. Dive in, start learning, and don’t forget to follow along for more tips and insights!. Follow him
Search
Tags
Popular Articles
-
Laravel 9 Login Multiple Roles using Custom Middleware
15.57K -
Drag Drop File Upload with Dropzone.js in Laravel 8, Laravel 9
13.17K -
Laravel Mail - Laravel 9 Send Email Tutorial Example
11.14K -
How to Generate Dummy Data in Laravel 9
2.73K -
How to Install Laravel 9 PHP Framework
2.22K -
How to Upload File in Laravel 9 with Example
2.18K


